To install the printer driver if you are using Windows operating system, you must log on as Administrator or have Administrator privileges. If you do not have Administrator privileges, ask your system administrator to install the printer driver software on your PC.
Before You Begin the canon printer setup:
- Confirm the machine is not connected to your
computer.
- Turn on the machine.
- Quit any Windows applications that are running on your computer.
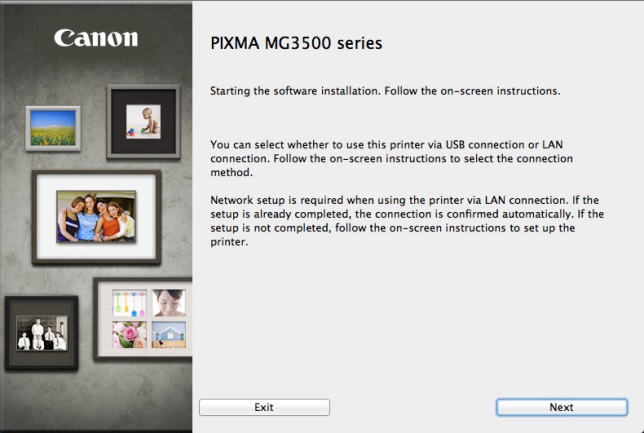
Place the CD-ROM into your CD-ROM drive.
If installation does not start automatically, choose Run from the Start menu. Type D:\CSplash.EXE (if your CD-ROM is D:) in the command line and click OK.
- Click [Install Printer Driver] to start installation.
- Click [Next] on the Setup Wizard dialog box.
After confirming the contents of the [License Agreement] dialog box, click [Next]..
Click [Yes] to continue the installation through the USB connection.
- The installation starts.
- Connect the machine to your computer with the USB cable.
- The printer driver is installed and the printer icon is added to the [Printers] folder.
The USB cable must be connected to the port on your computer within 90 seconds after [Yes] in the [USB Connection] dialog box is clicked, otherwise the installation will not complete.
While the printer driver is being installed, the message asking you if you want to view the README file or not appears. If you want to view the README file now, click [Yes}. If not, click [No].
